Light Show Design
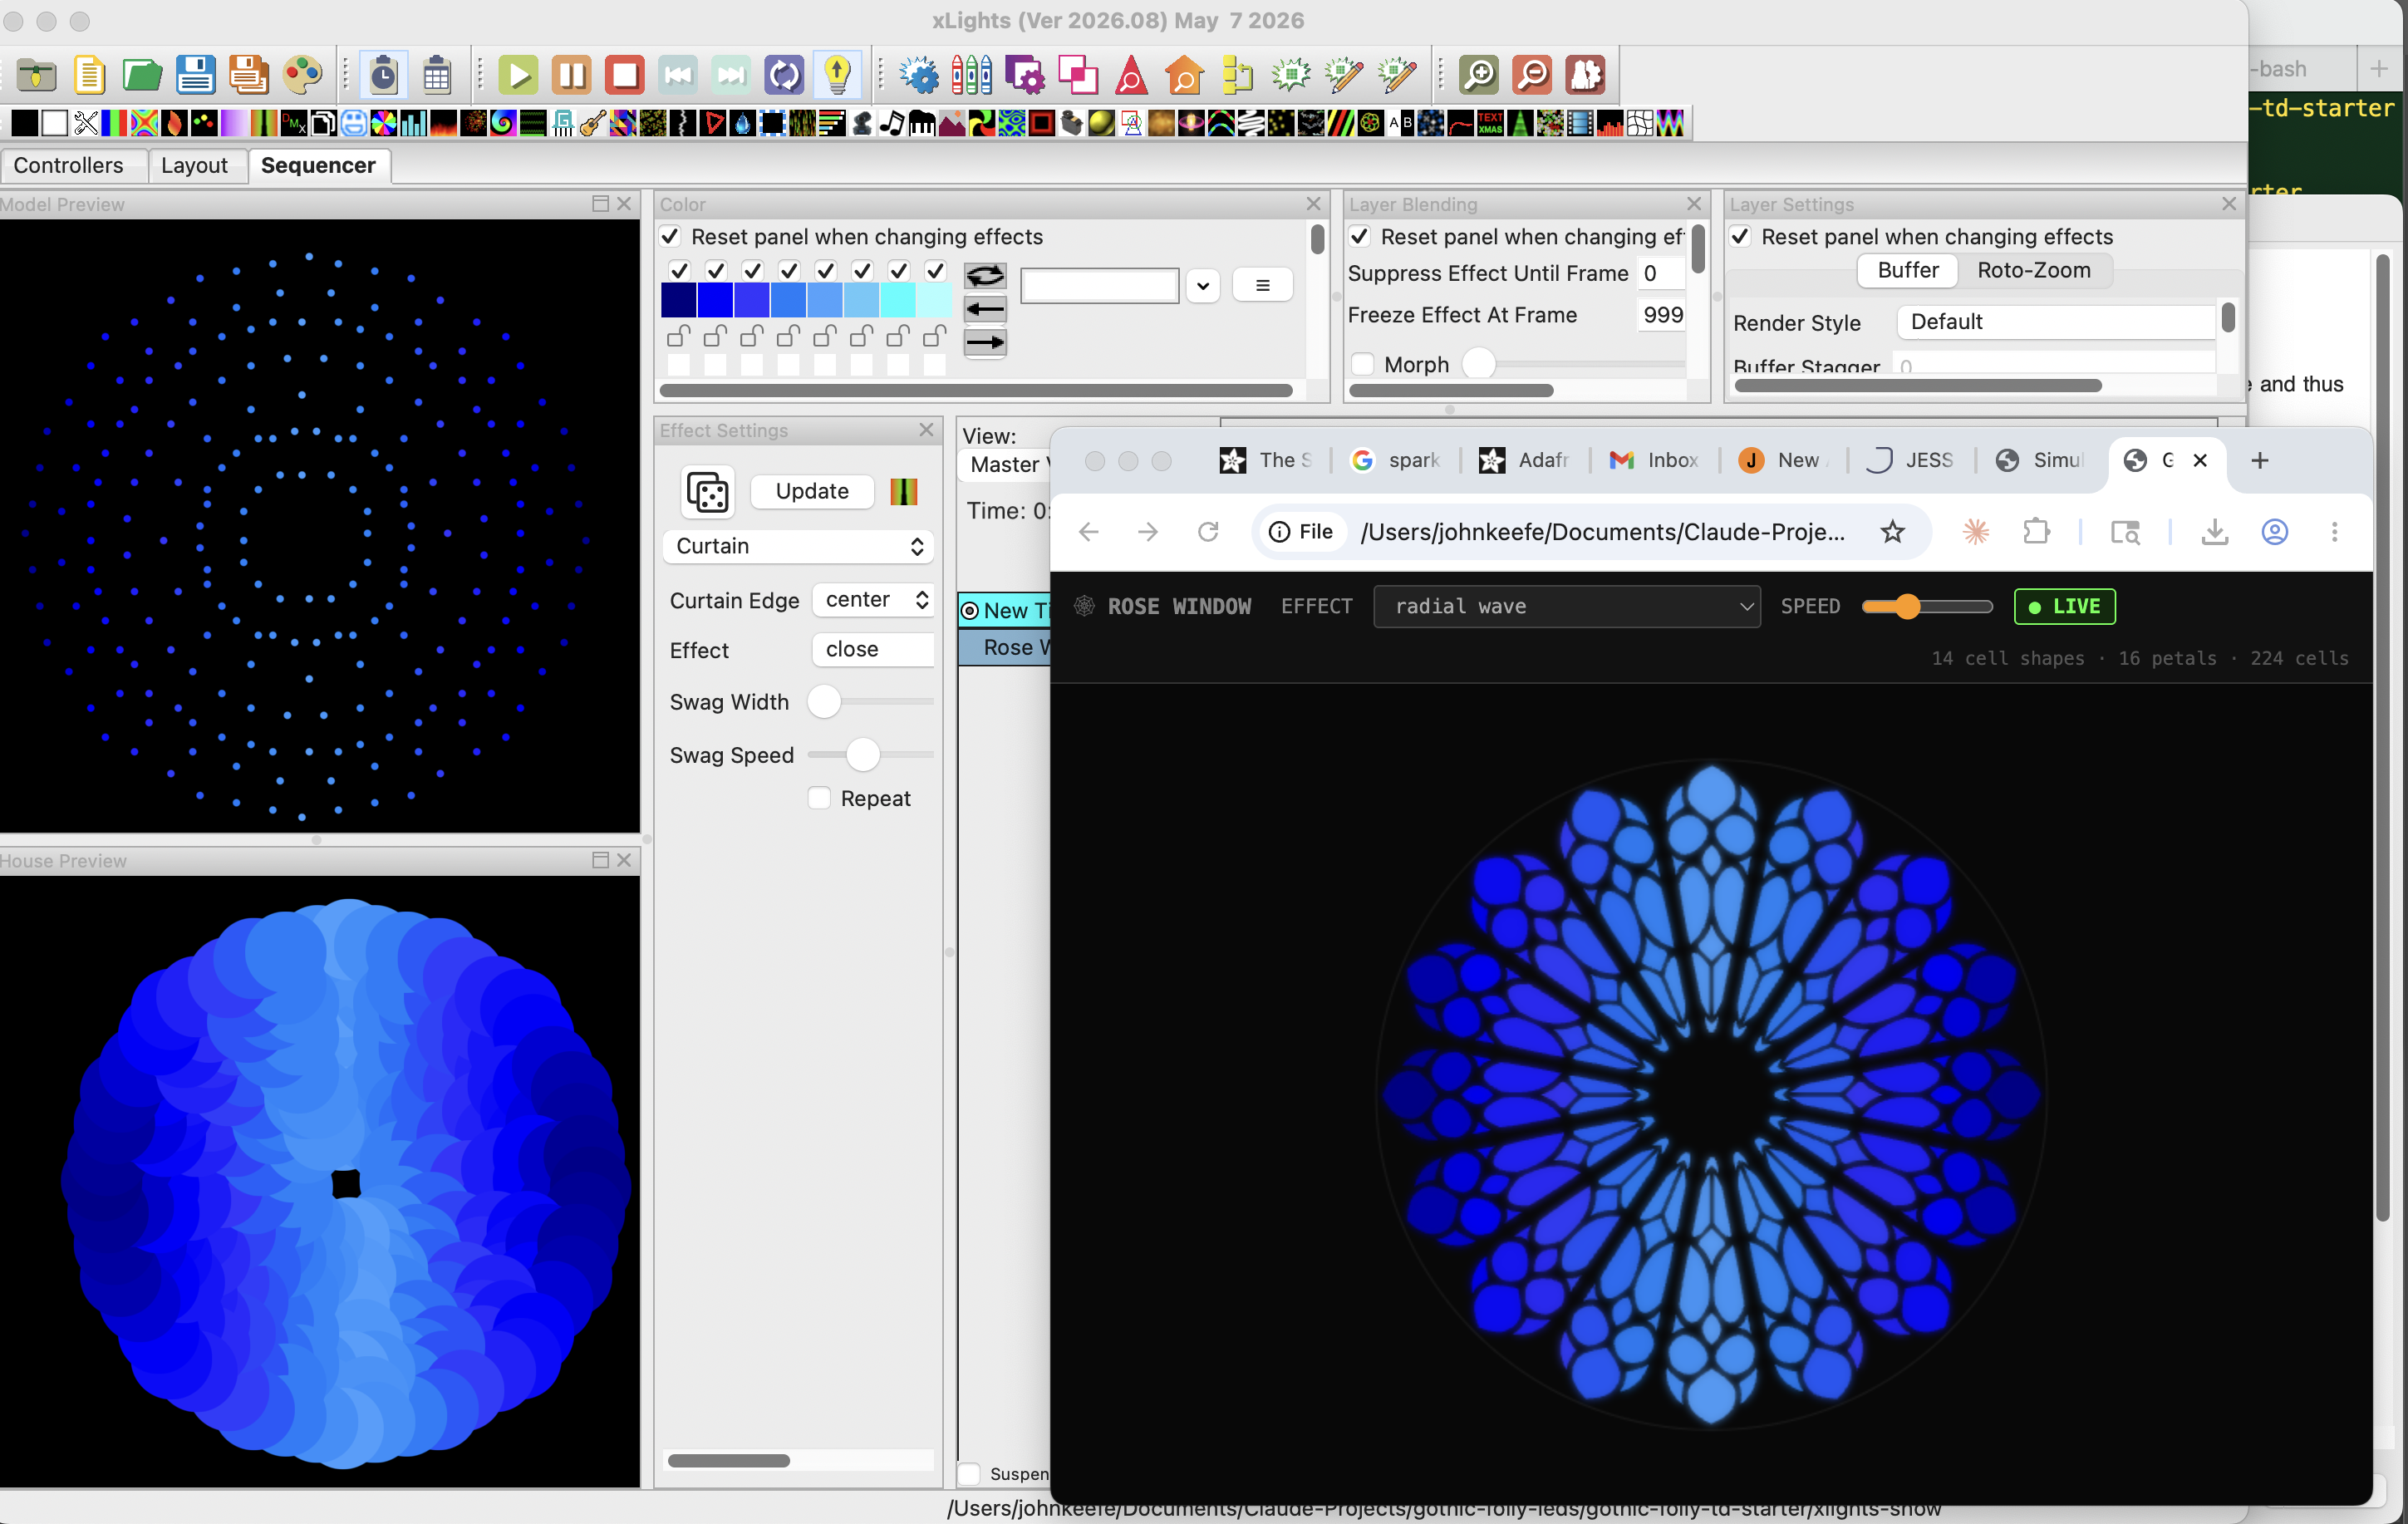
Design a light show for The Gothic Folly!
The Gothic Folly will come alive on playa — and we want the community to help design the shows.
You can design a show and test it on a Gothic Folly simulation before it’s even built! This page walks you through getting a live browser preview working so you can light it up with either TouchDesigner or xLights — two open-source programs used for light show design.
If you’re just getting started, probably best to start with xLights.
We put together a downloadable show-builder package that includes all of the cathedral files needed for both TouchDesigner or xLights along with two browser previews — a Rose Window sim and a 3D Cathedral Layout showing all zones in three dimensions — each with built-in test animations and live sACN support.
⬇ Download the show-builder package
What’s in this package
show-builder/
  getting-started.md        ← you are here
  cathedral-3d-sim.html     ← 3D browser simulator (all zones)
  rose-window-sim.html      ← 2D rose window simulator
  pixel-map/                ← LED position data (used by the sims)
  relay/                    ← local relay server (live preview from xLights)
  xlights/                  ← xLights project: models, layout, config
  td/                       ← TouchDesigner data and patch generator
Using xLights
xLights is free, open-source sequencing software often used to create holiday light displays. The project files are already set up — you just open xLights and start creating.
Never used xLights before? These are the best places to get oriented first:
- xLights Quick Start Guide — official written walkthrough
- xLights Quick Start playlist — official video series (YouTube)
- xLights Beginner Seminar Jan 2021 — Part 2 — the xLights deep dive; Part 1 covers the intro hardware/setup context (YouTube)
Note: The tutorials will talk about setting up controllers, models and layouts … but we’ve done that for you for The Gothic Folly. So ignore those parts! In fact, you should take care NOT to accidentally save changes to the controllers or the models to ensure your show is set to work on Playa.
1. Install xLights
- Mac: Download from the Mac App Store — free.
- Windows / Linux: Download from xlights.org/releases — free. Run the installer and follow the prompts.
2. Open the project
When you first start xLights, it may ask if xLights should create a show folder. Say No. Instead:
- navigate to wherever you downloaded and unzipped the Gothic Folly package
- Select the
xlightsfolder inside it.
xLights may also ask for your email address for crash reports — that’s up to you. Enter your email or click “No thanks.”
3. Set the view
You only need to do this once:
- Open xLights settings — this menu is called Preferences on Mac and Settings on Windows — then go to Sequences → Default view for new sequences
- pick
Gothic Folly - when you close the window, you’ll see a red “Save” button on the window below it.
- click “Save”
4. Make a new sequence
- File → New Sequence → Animation → 40fps → Done
You are ready to go!
Some important guidelines to integrate into The Gothic Folly production:
- Always use 40 fps. When the wizard asks for a frame rate, choose 40 fps — this is the project standard for every Gothic Folly sequence so they all play back consistently on the show controller.
- Always include a fade to black at the end of your sequence. This will provide a nice transition to the next sequence. A fade up at the beginning is nice, too.
- Avoid large areas of full white. This is all three colors (red, green and blue) are at their maximum brightness. It’s going to look especially harsh with our LEDs — more hospital-white than warm-white — and it also takes up the most energy. You won’t overload the system, but those leds may get automatically dimmed slightly as a precaution.
- The ideal sequence is 10 minutes It’s a great opportunity to shine, and will fit nicely into the overall production. If you have a longer project idea, let’s chat. Reach out to Nick at nick@thegothicfolly.com.
Drag effects from the row of effects onto the different zones, either by group or individually. Play and see what happens.
A few tips:
- Use the Cathedral group to apply an effect to the entire installation at once
- Use the Cathedral No Rose group to apply an effect to the entire cathedral while leaving the rose window untouched so you can craft something different.
- You can use groups like Arches, Spires, Rose Window to target specific areas of the project. Note that when two groups affect the same pixels, precedence goes to the lower group of the list.
- The Bars and Pinwheel effects are good starting points. For guidance on how to build your sequence, check out the video from the July 31 xLights workshop.
- When your sequence is ready: File → Save, then press F5 to render (or use the Render All button, which looks like 🎨).
The order of the groups shown isn’t just cosmetic: rows render top to bottom, and where two rows touch the same pixels the bottom row wins — the standard order puts broad groups on top so zone effects below them take precedence.
5. Music sequences
The .MP3 file you want to use needs to be on your computer (and you’ll need to send it to us later).
- File → New Sequence → Musical Sequence → [Pick your audio file] → 40fps → Done
You may need to “render all” to see the waveform of your music in your workspace.
6. Share your show!
We’d love to display your sequence on the real installation on playa. Scroll down for details. ↓
Using the simulator
You can see your show play in the two xLight windows on the lower left side of the screen.
- House Preview shows you the entire cathedral. You can zoom in and spin the cathedral to see it play.
- Model Preview shows you the playback for the group you have selected in the view.
That said, you’ll notice that things don’t look exactly how they will appear on the playa. Notably, the spires appear as rectangles, and the rose window looks just like a bunch of dots.
We have a way to view the cathedral — and your show — as a more complete view. The simulator we have also directly mimics the LED assignments on Playa, which is great for troubleshooting: If it doesn’t work in the simulator, it probably won’t work on Playa.
The steps are a little tricky, but we think it worth the effort!
Setting up the relay
The relay is a small program that listens for xLights output and forwards it to the 3D simulator.
This step uses the Terminal (Mac) or Command Prompt (Windows) — a text window where you type commands. If you’ve never used one before, don’t worry: you’ll only need a handful of commands and we’ll walk you through each one.
First time only:
-
Install Node.js: Download from nodejs.org — click the big “LTS” button. Run the installer and follow the prompts.
- Open a terminal:
- Mac: Press ⌘ Space, type
Terminal, and hit Enter. - Windows: Press the Windows key, type
cmd, and hit Enter.
- Mac: Press ⌘ Space, type
- Navigate to the relay folder:
- In the terminal window, type the letters
cdand a space, but don’t press Enter yet - If you’re using a Mac, go find your
show-builderfolder where you downloaded and unzipped it. Find therelayfolder inside and drag the folder into your terminal window. This will automatically fill out the “path” to your relay folder. - On a PC … you’ll just need to navigate to that folder. Reach out to nick@thegothicfolly.com if you have issues.
- Hit “Enter”
- In the terminal window, type the letters
- Install relay dependencies: Type this line:
npm installThis downloads the relay’s dependencies. It only needs to run once.
Starting the relay (every session)
-
Open a terminal and navigate to the relay folder (same steps as above).
-
Start the relay: Type this line:
node relay.jsYou should see something like:
Ready. Open the simulator, then start sending from TouchDesigner or xLights.
[WS] client connected  (1 total)
Leave this terminal window open and running during your session.
Firewall popup? If your computer asks whether to allow the relay to accept network connections, click Allow.
To stop the relay: go to its terminal window and press Ctrl-C.
Starting the simulator
-
In your
show-builderfolder, double-click oncathedral-3d-sim.html. This should open a view of the cathedral in your browser. -
In xLights, click the Output to Lights button (💡) and hit “play” to start sending data. The simulator will show ● LIVE in the toolbar when it’s receiving.
Troubleshooting
No lights?
- Make sure the relay is running
- Make sure the Output to Lights button (💡) is active
- Make sure you are playing something … the data stream stops when you stop.
No internet? (playa mode)
By default, the simulator loads its LED layout data from the web. On the playa without a connection, you can serve it locally instead. In a new terminal window, navigate to the show-builder folder (same steps as above, but go to show-builder instead of relay).
Type:
python3 -m http.server 8765
Then open http://localhost:8765/cathedral-3d-sim.html in your browser — it will detect the local address and use the local data automatically.
Using TouchDesigner
TouchDesigner is a node-based visual programming environment. The included data and patch generator let you drive all LED zones spatially using 3D position coordinates — every pixel in the cathedral has a normalized (x, y, z) position you can sample any way you like.
We need your help on this section! I (Nick) am not a TouchDesigner user and have yet to dive in. I’ve generated these instructions with the help of Claude Code, but haven’t had a chance to test them. Please reach out to me at nick@thegothicfolly.com if you have suggestions, tweaks or issues with these instructions!
1. Install TouchDesigner
Download from derivative.ca — the free tier works for this project. TouchDesigner 2023.11 or later is recommended.
2. Generate the patch
The td/ folder in this package contains two scripts:
generate-full-patch.py— all zones except the rose window (universes 7–75 — minor & major arches, spires, spirelets, canopy; ~4,600 pixels)generate-patch.py— rose window only (universes 1–2, UV-based geometry)
Run one or both in TouchDesigner’s Textport:
- Open TouchDesigner
- Open the Textport: Alt+T (or Dialogs → Textport)
- Run the script by typing:
run('/path/to/show-builder/td/generate-full-patch.py')Replace the path with the actual location of the file. Tip: drag the file into the Textport to auto-fill the path.
- A
gothic_follycomponent will appear in/project1. Open it to see the patch.
3. What’s in the patch
gothic_folly/
  pixel_positions      ← Table DAT: all ~4,600 pixel positions + normalized coords
  effect_top           ← GLSL TOP: the effect texture (1024×1024)
  effect_shader        ← Text DAT: the GLSL shader source — edit this to make your effect
  pixel_sample         ← Script CHOP: samples effect_top at each pixel's position
  pixel_sample_script  ← Text DAT: the Python sampling code
  sacn_out             ← sACN Out CHOP: sends universes 7–75 to relay or F48V5
  info_text            ← Text DAT: quick reference card
The starter effect is an animated left-to-right sweep driven by each pixel’s z_norm coordinate. Edit effect_shader to replace it with your own effect.
Spatial coordinate axes (from all-pixels-positions.csv):
x_norm— depth: 0 = playa-facing front, 1 = backy_norm— height: 0 = ground, 1 = top of spiresz_norm— left/right: 0 = left, 1 = right
4. Preview in the 3D simulator
Start the relay the same way as in the xLights section above. The sacn_out CHOP is pre-configured to send to 127.0.0.1 (the relay on your local machine). Open cathedral-3d-sim.html in your browser — it will show ● LIVE when receiving data.
To deploy on playa, change the Network Address in sacn_out’s parameters from 127.0.0.1 to the Falcon F48V5 controller’s IP address.
5. Rose window
The rose window (universes 1–2) uses a different geometry — 16 petals, each with 14 cells mapped by UV position rather than 3D coordinates. Run generate-patch.py to generate a separate rose_window component that handles it correctly.
Sharing your show
Our goal is to get your show displayed on The Gothic Folly at Burning Man! We’re still working out the details, but if you are interested, reach out to Nick in the Lighting WhatsApp group or drop a note to nick@thegothicfolly.com
Once you’ve built something you’re happy with, here’s how to share it.
From xLights
📤 Submit your xLights sequence here
The form collects your .xsq sequence file(s), your audio file if the show uses music, and your xlights_rgbeffects.xml layout file. You don’t need to send the .fseq — that’s the large rendered output, and we regenerate it ourselves. (You’ll be asked to sign in to a Google account so the file uploads work.)
From TouchDesigner
Get in touch with Nick at nick@thegothicfolly.com and we’ll arrange how to receive your .toe project.
Questions?
Reach out to Nick at nick@thegothicfolly.com or drop a note in The Gothic Folly WhatsApp group.
Updating existing projects
Already have a show folder? There have been some updates to the cathedral’s LED plan, and you need to update the settings. But it’s easy!
-
Quit xLights completely!
-
Download the settings file (not the entire package):
[⬇ Settings file only — xlights_rgbeffects.xml](/assets/downloads/xlights_rgbeffects.xml){: .btn download="xlights_rgbeffects.xml"} -
Drag
xlights_rgbeffects.xmlinto your xLights folder — which is inside your show-builder folder — replacing the existing file. -
Start xLights
-
Open a sequence.
-
Hit the “Render All” button.
You’ll need to do “Render All” on all of your sequences.
xLights Workshop Notes
Run of show from our July 31 xLights training (led by Nick and Nora).
Part I — Set-up (10 min, Nick)
- xLights intro
- Install the show-builder package from this wiki
- Start xLights
- Set your xLights folder (the
xlightsfolder inside your show-package) - Set your default view: Settings → Sequences → Default View For New Sequences → Gothic Folly
Part II — Simple demo (10 min, Nick)
- Create new → Animation → 40 fps
- Set a 10-minute length: File → Sequence Settings → Sequence Duration → 600 seconds
- Timeline tour
- Viewing-window tour
- Bars effect example
- Render and Save
Part III — Case study (15–20 min, Nora)
- Watch 10 seconds of an example sequence (notice rose vs. cathedral effects)
- Look at the same sequence from the back end
- How Nora did it — building a sequence from scratch
- Starting tips: get AI help + storyboard
- Work in the Sequencer tab
- Create a palette in the Color Settings window
- Drag effects onto the timeline and edit them in the Effects window
- Nora’s Top 8 effects (below)
- Add a fade at the end
- Render and Save — you need both
- You’ll get three files; do your edits in the
.xsqfile - Tip: use Save As to copy and edit a sequence
Part IV — Simulator (10 min, Nick)
- How to install the simulator (optional)
Part V — Submission guidelines (10 min, Nick)
- Sequences must be 10 minutes
- Must end with a fade
- What about adding music?
- How to send it to us — see Sharing your show above
Nora’s Top 8 xLights Effects
Nora’s go-to effects for the Gothic Folly, grouped by the look they create. The icons match the xLights effect buttons so you can spot them fast.
Rings — effects that make rings on the rose window
 1. Bars — put it on Rose Rows (not Rose)
- Layer Settings → Render Style: Horizontal per model
- Effect Settings → check Gradient
 2. Circles — on Rose
- Effect Settings has several styles; Radial, Bounce, or Plasma work best
 3. Galaxy — on Rose
 4. Spirals — on Rose
Psychedelics — groovy looks for the rose window and the whole cathedral
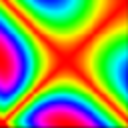 5. Butterfly — Nora’s top pick
- Six very different styles are worth trying: 1, 2, 3, 4, 5, and 10
- Select your palette first, or it defaults to a rainbow
 6. Plasma
Bits — for a sparkly, fragmented look
 7. Twinkle
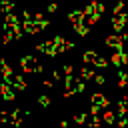 8. Life
Overlay Effects — short moments that play on top of the running show
The Folly’s operator button board can fire a short “effect” over whatever show is currently playing — the main sequence never stops; its clock keeps running underneath, and when the effect ends the show takes back over seamlessly. Think: a spire flash when someone presses a button, a whole-structure lightning strike, a color slam on the hour.
There are two ways to author one in xLights, and the difference matters:
How FPP plays an overlay (why zeros matter)
The player overwrites every channel contained in the effect file, every frame, while it runs. It can’t tell “black because I want black” from “black because I didn’t sequence anything on that model” — a zero is just a color. A normal full-layout render includes all channels, so every model you left empty paints the rest of the cathedral black for the duration.
Option A — Full takeover (no special workflow)
Author a short sequence (a few seconds) exactly like any other show and hand it in as a normal .fseq. When it fires as an effect, everything it doesn’t light goes dark while it plays — the Folly visibly interrupts itself. For whole-structure moments (lightning, all-white flash, a big color hit), that takeover is the drama. If your effect involves the whole cathedral anyway, do nothing special.
Option B — Zone-scoped (a true overlay)
For “the spires flash while the show keeps playing everywhere else,” the file must contain only the target model’s channels:
- Make a short sequence (2–10 s) and put effects only on the target model or group’s rows (e.g. the spires group). Leave every other row untouched.
- Right-click that model/group’s row header in the sequencer → Export Model → choose the FPP sub-sequence (
.eseq) format. - The
.eseqholds just that model’s channel block (plus its position), so the rest of the cathedral stays on the main show while it plays.
Two caveats:
- Rose window effects can’t be zone-scoped yet. The layout models the rose at cell resolution and the show pipeline remaps it to the physical LEDs — a rose
.eseqwould land on the wrong channels. Rose-touching overlays should be authored as full-takeover moments (Option A) for now. Everything else — spires, arches, canopies, washes — exports cleanly. - Zone-scoped ≠ transparent. Within its own model block the effect owns every channel: black pixels inside the block do paint black. The scope is the model, not just the lit pixels.
Rule of thumb: whole-Folly moment → normal render, embrace the takeover. Zone accent over a running show → sequence only that model, right-click → Export Model → .eseq.
Show-Builder Version Log
Current version: 2026-07-30
This log tracks changes to the show-builder package. If you’ve already built sequences and a new version comes out, use this to decide what to update.
Upgrading from a previous version
When a new package is released, each entry below says which files changed — often it’s only one.
If only xlights/xlights_rgbeffects.xml changed (the common case): don’t unzip the whole package over your working show folder — that can overwrite your saved color palettes (palettes/), effect presets, and sequences by filename collision. Instead, download just the layout file from the downloads page and swap it in: quit xLights first, replace only xlights/xlights_rgbeffects.xml, reopen, and re-render (F5).
Always safe to replace: cathedral-3d-sim.html, arches-sim.html, rose-window-sim.html, pixel-map/, relay/, td/, getting-started.md, version_log.md
Check this log before replacing: xlights/xlights_rgbeffects.xml — this file defines the LED models. If models changed, replace it and re-render your sequences in xLights (press F5). If pixel counts changed, the log will say so — your sequences may look different and will need to be re-rendered before they’ll work correctly on playa.
Never replace (your work): Your own .xsq sequence files, any audio you’ve added, your saved color palettes (xlights/palettes/), and your effect presets (xlights/xlights_effectpresets.json).
2026-07-30
Files changed: xlights/xlights_rgbeffects.xml only. No pixel or channel changes — existing sequences are unaffected and need no re-render.
What’s new
- Named view: “Gothic Folly”. The recommended sequencer row order now ships with the layout. One-time setup: in xLights Preferences → Sequences, set Default View For New Sequences to Gothic Folly — every new sequence then opens with its group rows already in the standard order (Rose Window → Rose-Rows → Cathedral No Rose → Cathedral → Arches → … → Canopy → Washes). The order is also the render order: rows render top to bottom and the bottom row wins on shared pixels, so broad groups at the top get overridden by the zone groups below them — by design.
- Single-file upgrades. The downloads page now offers
xlights_rgbeffects.xmlon its own, next to the full package — for anyone with an existing show folder who just needs the latest models (see “Upgrading” above).
2026-07-27
What’s new
- New zone: the WASH FLOODS (22 fixtures) — models + groups + 3D sim. The cathedral’s interior floodlighting is now in the layout: 7 floods per front tower (the pair nearest the rose window is a stacked up/down bracket) and 4 per back tower (one per top-quad face). Models are named
Wash-Front-Left-1..7,Wash-Front-Right-1..7,Wash-Back-Left-1..4,Wash-Back-Right-1..4, grouped underWashes(plus per-towerWashes-*groups).Washesis a member of BOTHCathedralandCathedral No Rose, so existing whole-structure effects pick the wash up automatically after a re-render. - The 3D simulator (
cathedral-3d-sim.html) renders each flood with a translucent beam glyph in its aim direction — a display flourish; the channel map stays one channel-triplet → one flood. - Purely additive: wash channels live in previously-unused space (u55 ch379–399, u61 ch121–141, u67 ch1–12, u74 ch1–12). No existing model moved — your sequences are untouched. Replace
xlights/xlights_rgbeffects.xmland re-render (F5) to get the new zone.
2026-07-22
What’s new
- New group: “Cathedral No Rose”. Everything except the rose window (Spires + Arches + Canopy). Handy for effects you want to run across the whole structure while sequencing the rose separately. Drop effects on it just like the “Cathedral” group.
If you replace xlights/xlights_rgbeffects.xml, the new group appears automatically. Or add it yourself in a few clicks — see the note below. Pixel counts unchanged; no re-render needed.
2026-07-20
What’s new
- Rose window renders correctly on newer xLights (2026.10+). On xLights versions using the newer custom-model format, the two rose-window halves (“Rose Window A” and “Rose Window B”) were overlapping instead of forming one circle. Fixed by trimming each half-model to its own pixels and positioning them explicitly. Older xLights (≤2026.08) was unaffected and looks identical to before.
Pixel counts unchanged — no re-render required. If you replace xlights/xlights_rgbeffects.xml, your existing sequences keep working as-is; the only difference is the rose window now displays correctly on current xLights.
2026-06-19
What’s new
- Strip spec confirmed — all arch zones: WS2811 24V 60/m, 10 pixels/m (6 LEDs per IC). Mini and quad arch pixel counts updated to match full hardware resolution.
- Universe reassignment: Quad arch pixel counts roughly doubled, pushing spires, canopy, and orbs to new universe ranges:
- Quad arches: universes 32–51 (was 32–41)
- Spires: 52–55 (was 42–45)
- Canopy + corners: 56–57 (was 46–47)
- Orbs: 58 (was 48)
- Main arch pixel positions: Exactly 20 pixels per arch, now placed at the true centre of each structural steel box (parsed from arch geometry). Previously evenly spaced along the arc length.
- New:
arches-sim.html— arch-only 3D simulator (main, mini, and quad arches). Same live sACN and demo modes as the full cathedral sim. - Main arch boxes rendered as filled polygons in both
cathedral-3d-sim.htmlandarches-sim.html, matching the rose window cell style. - Hardware note (controller config, not code): Main arches use 20 logical pixels per arch. Physical strips have ~240 WS2811 ICs. Set grouping = 12 on the F48V5 pixel outputs so each logical pixel drives 12 consecutive ICs.
Upgrade notes
This is a significant update — pixel counts and universe assignments changed.
Replace these files:
xlights/xlights_rgbeffects.xml— model pixel counts changed for mini and quad archesxlights/xlights_networks.xml— universe assignments changed for quads, spires, canopy, orbs- All files in
pixel-map/— universe and channel maps rebuilt
After replacing, re-render all sequences (press F5 in xLights). Sequences targeting spires, canopy, orbs, or quad arches will look correct again after re-render. Your .xsq files are safe — they reference models by name, not by channel.
2026-06-22
What’s new
- Spire bottom pixel alignment: The bottom LED on each spire strand now aligns with the nearby spirelet scaffold ring in the sim (was ~0.7m too high). Root causes: SPIRE_HEIGHT_M was set to 20ft rather than apex-to-spirelet distance; diagonal strands are longer than vertical height, so T_START needed a per-strand adjustment. All 4 spires corrected.
- Left mini arch pixel order reversed: On the left mini arches, pixel 0 now starts at the right/center-facing leg (toward the main arch zone) instead of the outer leg. This co-locates wiring connections near the main arch entry points, eliminating 5 long cable runs across the scaffold. xLights sweeps are unaffected (they use WorldPos, not pixel order).
- Canopy pixel counts updated: Diagonal runs: 43→44px. Side runs: 37→38px. Matches the counts in the Ray Wu custom order (extra pixel accounts for catenary sag not in the CAD geometry).
Upgrade notes
Replace all files in pixel-map/ and xlights/ to get the corrected models. Re-render sequences (F5) after replacing — spire, canopy, and left mini arch sequences will update automatically. Your .xsq files are safe.
2026-06-05
What’s new
- xLights — Rose Window addressing groups: Added per-cell, per-row, and per-column sub-models for the Rose Window so you can target specific parts of it in sequences:
Row-1throughRow-7— each ring layer (hub → rim)Col-A,Col-B,Col-C— the three branch directionsP01-1bthroughP16-7c— all 224 individual cells- Groups in the sequencer:
Rose-Rows,Rose-Cols,Rose-Cells,Rose Window Elements
Upgrade notes
Models file (xlights_rgbeffects.xml) changed — replace it if upgrading. No pixel counts changed; existing sequences are fully compatible. Re-render (F5) after replacing.
2026-06-02
First public release of the show-builder package. Includes:
- xLights project with all LED zones: main arches, mini arches, quad arches, spires, spirelets, rose window, canopy, orbs
- Full nested group hierarchy (
Cathedral→Arches,Spires,Rose Window, etc.) - 3D browser simulator (
cathedral-3d-sim.html) with live sACN preview, all zones - Rose window simulator (
rose-window-sim.html) - Local relay server for live preview
- TouchDesigner starter patch and all-zones position data